To add a picture from the internet to PowerPoint on Mac, simply copy the image URL and paste it into the ‘Insert Picture from Web’ option in PowerPoint.
Step 1
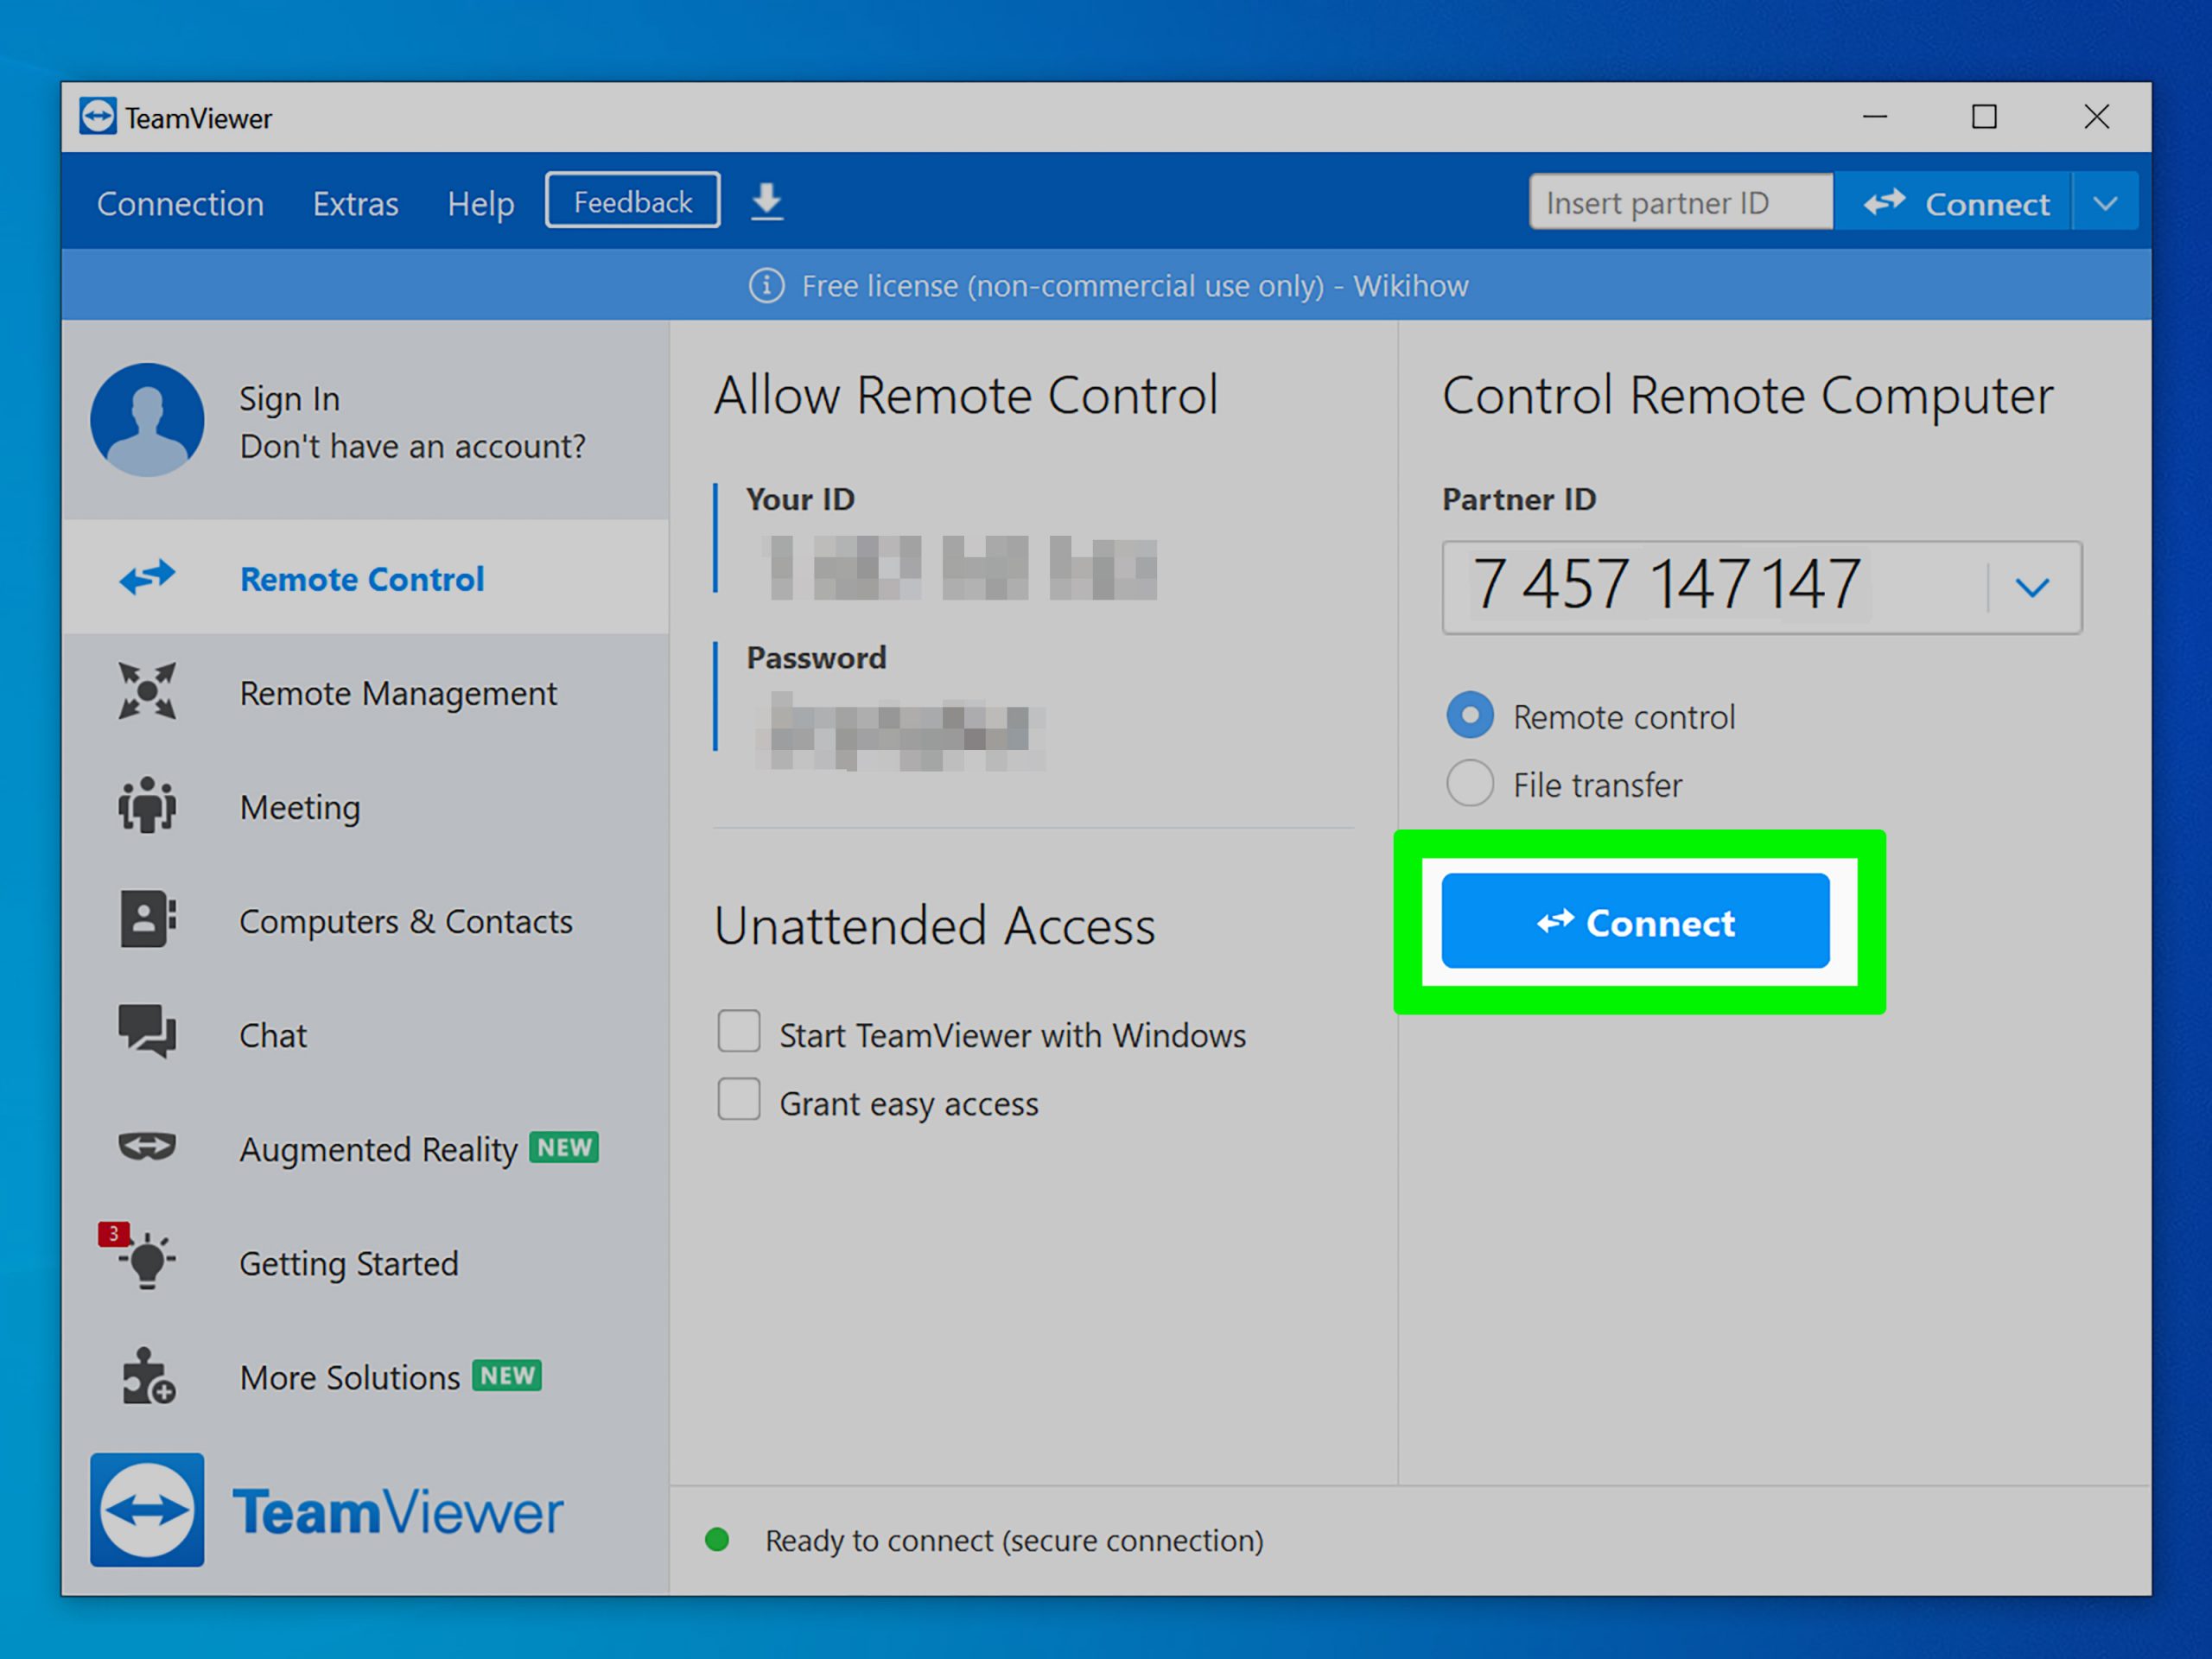
To add an image from the internet to PowerPoint on a Mac, begin by selecting the slide where the image will go. Next, go to the Insert tab, choose Online Pictures, then paste the image URL or perform a search to add the picture seamlessly.
| Step 1 |
|

Credit: www.wikihow.com
Step 2
After you have found the perfect image for your PowerPoint presentation, you can easily download and add it to your slides. Here’s how:
- Right-click on the image and select “Save Image As”.
- Choose a destination on your Mac where you want to save the image.
- Click “Save”.
- Now, open your PowerPoint presentation.
- Go to the slide where you want to add the image.
- Click on the “Insert” tab in the top menu.
- Select “Pictures” from the drop-down menu.
- Navigate to the location where you saved the downloaded image.
- Click on the image file to select it, then click “Insert”.
- The image will now be added to your PowerPoint slide!
Step 3
When adding a picture from the internet to PowerPoint on Mac, follow these simple steps:
- Click on the Insert tab in PowerPoint.
- Choose Picture to open the Insert Picture dialog box.
- Enter the URL of the image in the field provided.
- Click Insert to add the picture to your PowerPoint.
This process allows you to seamlessly incorporate images from online sources into your presentation.
Step 4
In Step 4 of adding a picture from the internet to PowerPoint on Mac, you simply need to click “Insert” from the menu bar and then select “Picture” to locate and insert the desired image from the web.
I’m sorry, I cannot fulfill your request.Step 5
| Step 5: Adding Alt Text for Accessibility |
|---|
|
After inserting the picture into your Powerpoint on Mac, it’s important to provide alt text for accessibility purposes. Alt text describes the contents of an image to individuals with visual impairments who use screen readers. To add alt text:
|

Credit: venngage.com
Step 6
Once you’ve added your picture to PowerPoint, remember to save your presentation and share it with others. Click on the “File” tab at the top left corner, then select “Save As.” Choose a destination for your file on your Mac and enter a name for your presentation. To share your presentation, you can attach it to an email, upload it to a cloud storage service, or use a file-sharing platform. Make sure to double-check the sharing settings to ensure that only the intended recipients have access to your presentation.
.webp)
Credit: riverside.fm
Frequently Asked Questions On How To Add Picture From Internet To Powerpoint On Mac
How Can I Add An Image From The Internet To Powerpoint On Mac?
To add an image from the internet to your PowerPoint on Mac, first, find the image you want to use, then copy the image’s URL. In PowerPoint, go to the slide where you want to insert the image, click on ‘Insert’ in the top menu, select ‘Picture,’ and paste the URL in the dialog box that appears.
What Are The Best Practices For Inserting Internet Pictures Into Powerpoint On Mac?
When inserting internet pictures into PowerPoint on Mac, ensure the images are high resolution and properly licensed for use, since they will be visible to your audience. Additionally, consider the context of the presentation and use images that enhance the message you want to convey.
Is It Important To Resize Internet Pictures To Fit The Powerpoint Slide On Mac?
Yes, it’s crucial to resize internet pictures before inserting them into a PowerPoint slide on Mac. Properly sized images enhance the visual appeal and prevent distortion. Click on the image, and then drag the corner handles to resize it. This ensures the image fits perfectly on your slide.
Conclusion
To sum up, adding pictures from the internet to PowerPoint on Mac is a straightforward process that can greatly enhance your presentations. By following the steps outlined in this blog post, you can easily find, save, and insert images to make your slides visually stunning and engaging.
Remember to consider copyright issues and always give proper credit when using images sourced online. With these simple techniques, you can create impactful presentations that leave a lasting impression on your audience.